Creating the Conceptual Model is necessary when there is the intention of performing advanced vectorial editions in the database.
Note: TerraAmazon does not automatically create the Conceptual Model given that the size of the box of the cells layer created in the process depends on the area in which there is the need to work on.
To create the Conceptual Model, go to the menu ADMINISTRATION → CREATE CONCEPTUAL MODEL.
Select an existing
data source in the list or by clicking on the icon
![]() to select one.
to select one.
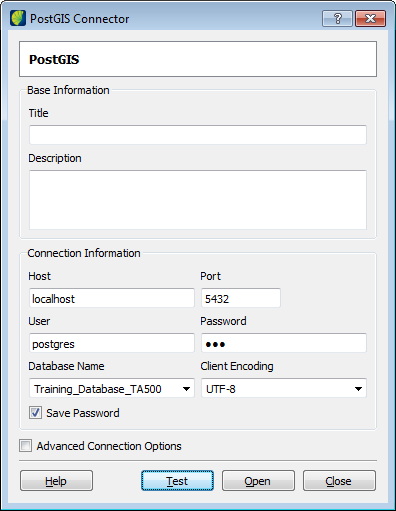
To check if connection information is correct click on the Test button.
Then click on the Open button.
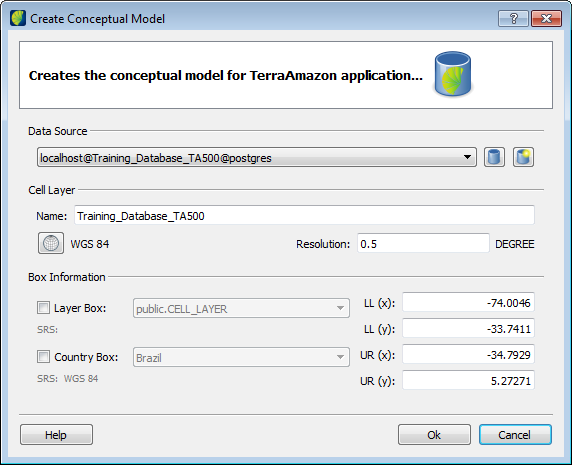
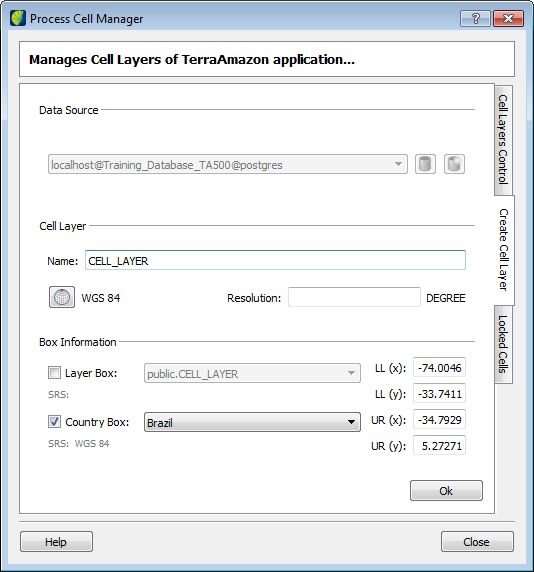
Many TerraAmazon operations are based on the existence of this layer, such as the entire classification process. Its dimensions depend on the user´s needs.
Name: provide a name for the cell layer.
Projection:
click on the icon
![]() to access the projection setting interface, shown in the next figure.
to access the projection setting interface, shown in the next figure.
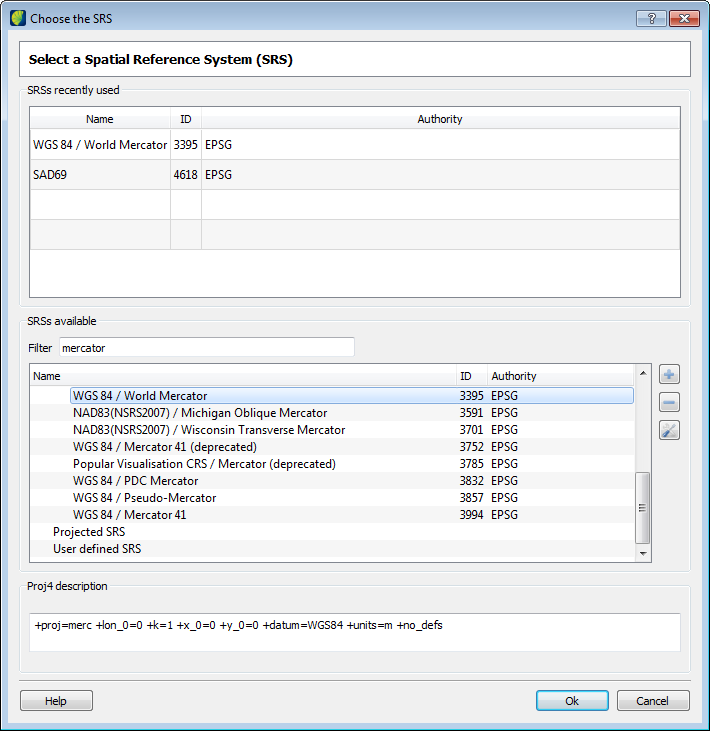
Choose the projection in the SRS recently used or SRS available fields and click on the OK button.
Note: To make it easier to find the SRS type you can use the Filter field.
Back in the Conceptual Model interface, type the box extents for the cells layer by filling the fields LL(x), UR(x), LL(y), UR(y), being LL = “lower left”, UR = “upper right” if Layer Box is checked.
If Country Box is checked choose the country and values above will be automatically filled.
Resolution: provide a resolution, or width, for the cells. This resolution is the same on horizontal e vertical directions since cells are square geometries.
In this resolution field, the measurement unit is defined by the selected projection, as informed in the Unit field of the Projection interface. It can be verified at the right of the Projection button. In this example, the unit is Decimal Degrees.
Note: The values provided for the countries are originally in LatLong/WGS84 Spherical. When the conceptual model must be created in a different projection, use the Projection button as usual. The original values of the countries´ box will be submitted to reprojection after the creation of the layer is triggered. Additionally, if there is a need to update values of the country boxes, users can edit the file country_box.csv found in the folder where TerraAmazon has been installed.
Click on the OK button to apply the informed values and trigger the creation of the Conceptual Model.
If necessary, it is possible to create a new cell layer by accessing the menu LAYER → CREATE CELL LAYER. Even though it is possible to create as many cell layers as needed, only one of them can be active on the database. That will be the layer used by the classification process and must have the same projection as the other layers involved in the classification rules. If necessary, change the active cell layer by right clicking on the desired cell layer and selecting the option Set As Cell Layer. This update takes effect immediately.
Using an Existing Cells Layer
It is also possible to create the Conceptual Model using an existing cells layer. To have an existing cells layer on the database you can either copy it from another database (find more about data copying at Erro: Origem da referência não encontrada, page Erro: Origem da referência não encontrada) or create it using the method on the previous note.
Proceed to the creation of the Conceptual Model at the menu CONTROLLER → CELLS MANAGER.
Select the tab Create Cell Layer.
On the Name field, enter the name of the cells layer.
Enter the SRS, Resolution and Box information parameters.
Click on the OK button to create the Conceptual Model.
Note: It is necessary that the user informs the cell column because there are other softwares from the Terra family that can also generate cells layers, but with different column names. So far, it is important to keep compatibility between them. However, cells layers generated with TerraAmazon always have the cell column named as cell_oid.
Checking cell status
The user can get a list with all locked cells.
Click on CONTROLLER → CELLS MANAGER.
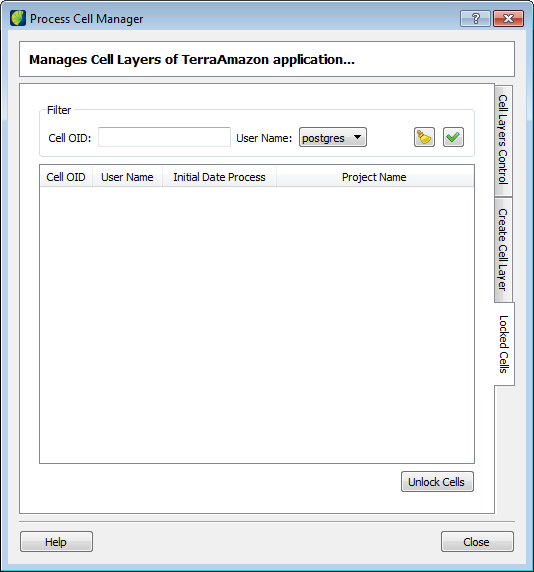
Filter: enter conditions for Cell OID and User Name fields.
Click
on the icon
![]() to clean filter selection and on icon
to clean filter selection and on icon
![]() to confirm entries.
to confirm entries.
To unlock a cell select one from the list of locked cell and click on the Unlock Cell button.